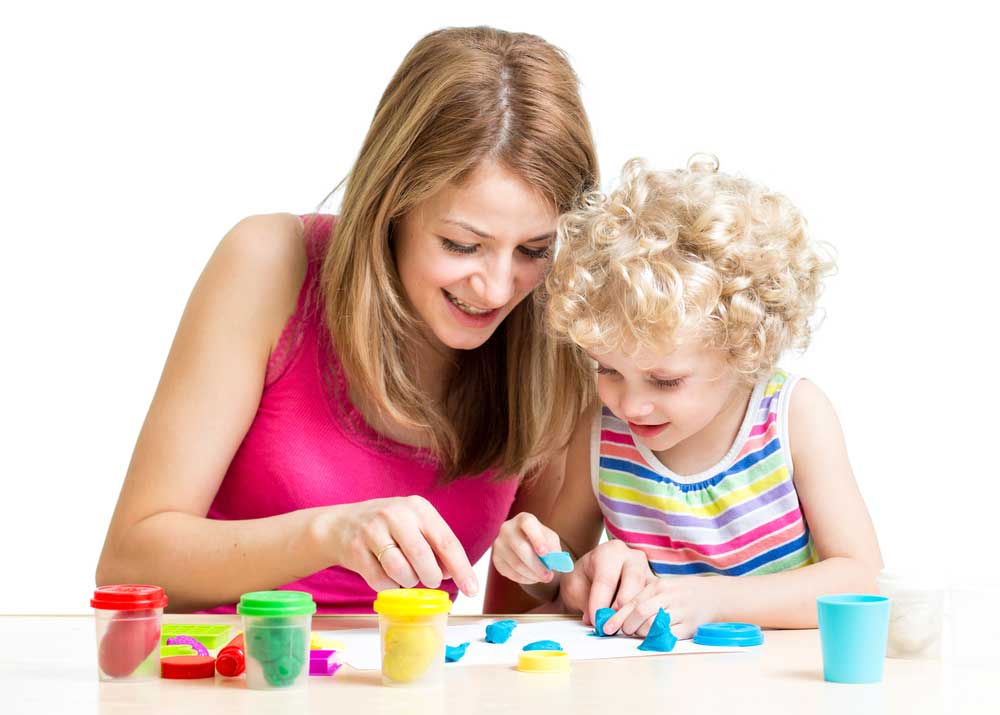
DIY playdough is easier to make than you think, and just as much fun (if not more!) than the store-bought version. Not only does making your own add on a science theme to the activity, but it allows you to customize the dough to your child’s needs and interests. For example, if your little princess really, really, really adores everything that sparkles, you can add glitter to the recipe. On the other hand, if your child only likes the color blue, you ca create every aqua-ish hue imaginable.
This recipe is a fairly standard one (it’s actually extremely common, and you’ll find it all over Pinterest for sure). That said, one of the do’s you’ll see in many dough activities is to add the food coloring or paint color to the mix as it’s cooking. There’s a nasty rumor circulating around the Internet that it is the absolute and only way to get a perfectly even color. It isn’t. While you can certainly add the color as you’re cooking, waiting until after the fact allows you to section the play dough apart and create several different colors.
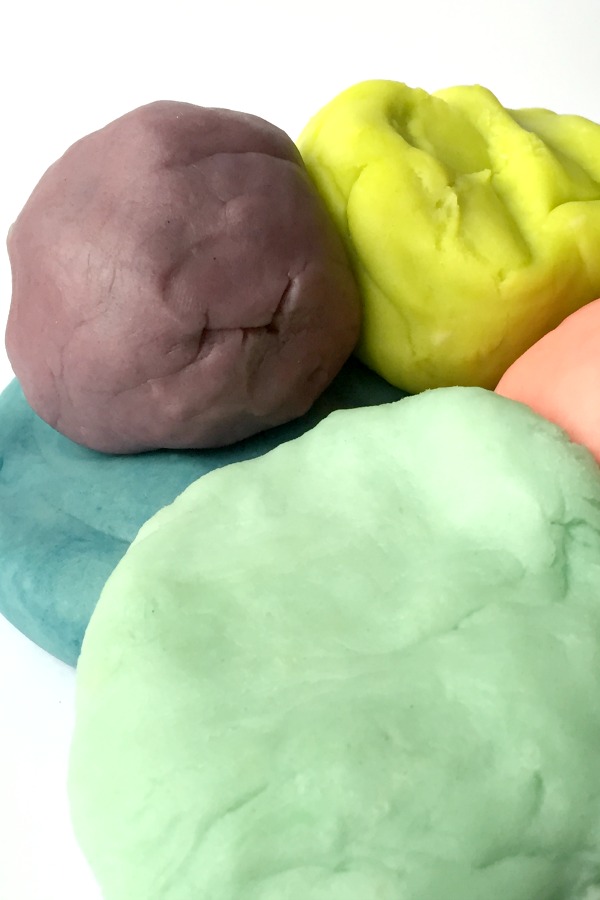
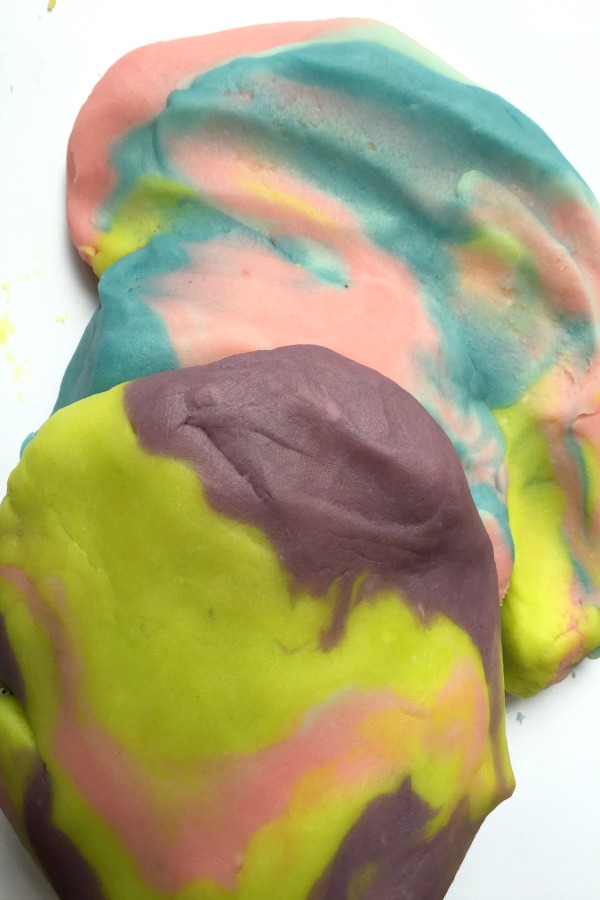
To celebrate the warm summer months, we went with a pastel sorbet theme. We also spent some time mixing different colors. Not only did we create secondary (purple, green and orange) colors from the primaries (red, yellow and blue), but we also made swirly looking combos.
DIY playdough is easier to make than you think, and just as much fun (if not more!) than the store-bought version. Not only does making your own add on a science theme to the activity, but it allows you to customize the dough to your child’s needs and interests. For example, if your little princess really, really, really adores everything that sparkles, you can add glitter to the recipe. On the other hand, if your child only likes the color blue, you ca create every aqua-ish hue imaginable.
This recipe is a fairly standard one (it’s actually extremely common, and you’ll find it all over Pinterest for sure). That said, one of the do’s you’ll see in many dough activities is to add the food coloring or paint color to the mix as it’s cooking. There’s a nasty rumor circulating around the Internet that it is the absolute and only way to get a perfectly even color. It isn’t. While you can certainly add the color as you’re cooking, waiting until after the fact allows you to section the play dough apart and create several different colors.
To celebrate the warm summer months, we went with a pastel sorbet theme. We also spent some time mixing different colors. Not only did we create secondary (purple, green and orange) colors from the primaries (red, yellow and blue), but we also made swirly looking combos.
Materials:
- 2 ½ cups water
- 2 ½ cups flour
- ½ cup of salt
- 1 ½ tbsp. cream of tartar
- 6 tbsp. vegetable or coconut oil
- Food coloring
Instructions:
- Mix the water, flour, salt, cream of tartar and oil in a large pot.
- Cook the mix, stirring it often. Don’t allow the mixture to bubble or boil. You’ll know it’s done when it looks like playdough. If it’s still mushy or feels water, keep stirring.
- Remove the dough from the heat, and allow it to cool.
- Pull the dough apart into pam-sized balls.
- Push your thumb into the top of each ball. Drip a few drops of food coloring into the indentation. Use one or two drops to make the sorbet-colored pastel playdough. For example, a drop or two of red equals pink dough.
- Roll, push, pull, knead and mush the color in.
- Drip two drops of food coloring onto the same piece of dough. Ask your child what she thinks will happen. Knead the colors together to make a new hue.
- Twist, mix and mingle a few different solid colors to make a rainbow piece of playdough. Your child can also drip four of five different shades of food coloring onto the same piece. Mix them up without completely combining them to make a swirl.
Are you proud of the colorful dough creation that your child crafted? Show us, so that we can inspire others with your child’s awesome art! Submit your playdough photos to us at connect@angelibebe.com for us to share.